# VScode调试Egg
转载 (opens new window)
##egg-bin
egg-bin debug把proxy功能内置了,实现原理参见当时的RFC (opens new window)提案,缤切提供了vscode-eggjs扩展来方便配置。
解决了:
- 自动attach重启后的worker新端口
- 自动生成launch.json
对于一般应用开发者基本上非常易用了,但还存在以下问题:
- vscode的
launch.json对同时attach多个的支持不是很友好,虽然有compounds。 - 默认只attach worker,并且不支持启动期的断点,如果要
brk的话要手动attach3次,非常麻烦。
# 使用vscode进行调试 (opens new window)
安装vscode-eggjs((eggjs)),并初始化调试配置(如果之前有则需要删除launch.json)
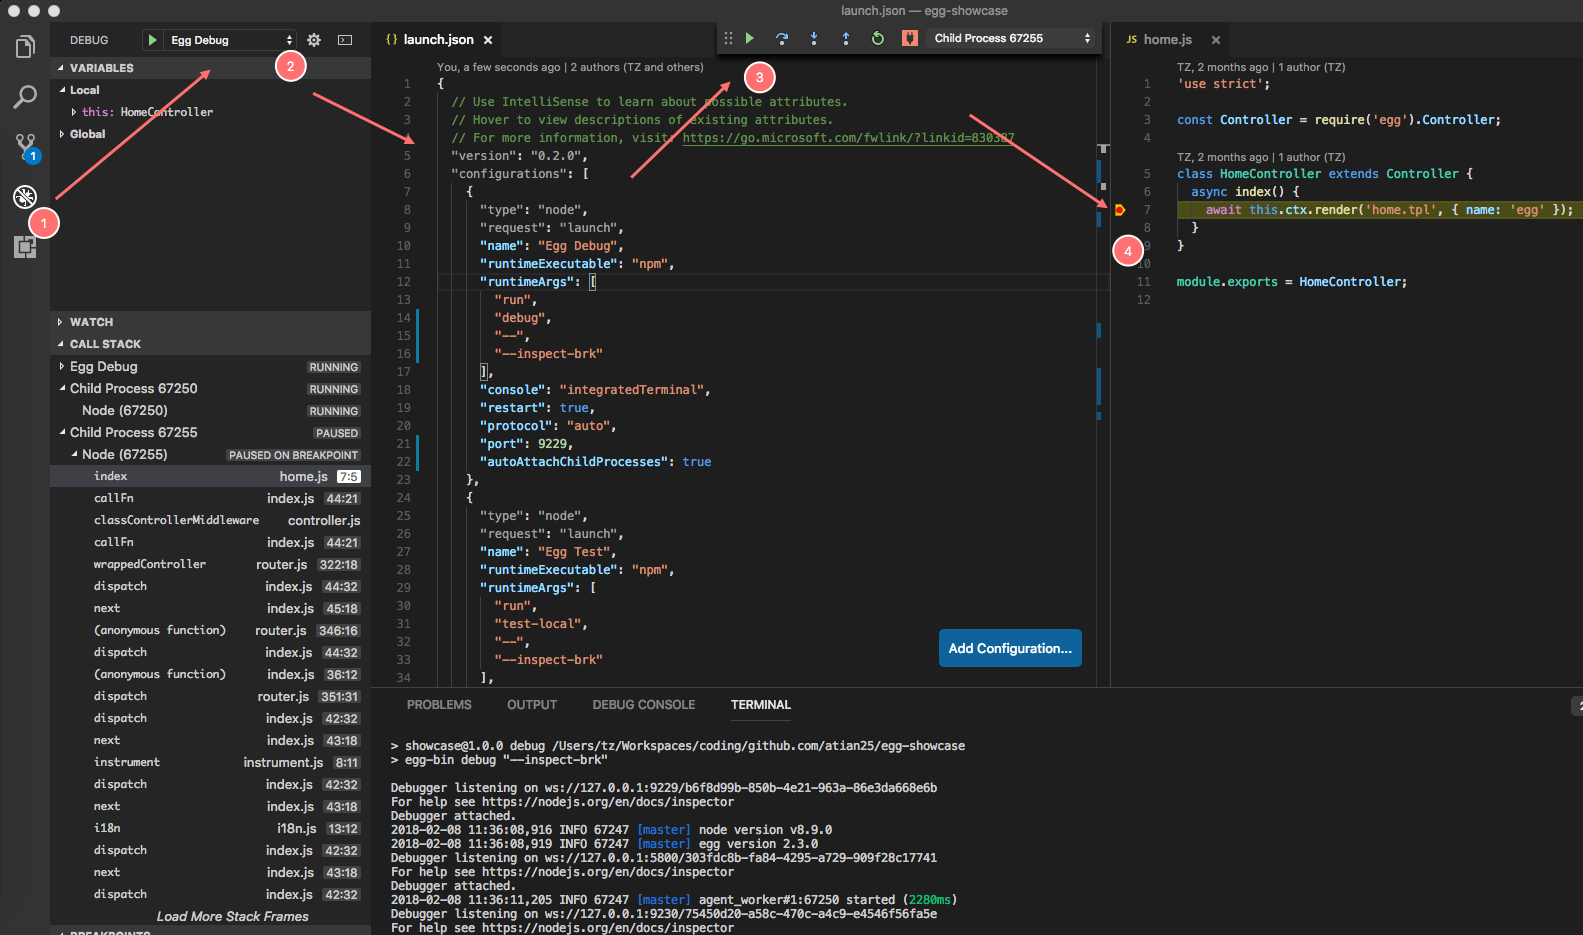
然后直接F5进入debug 简析
// .vscode/launch.json
{
  "version": "0.2.0",
  "configurations": [
    {
      "name": "Launch Egg",
      "type": "node",
      "request": "launch",
      "cwd": "${workspaceRoot}",
      "runtimeExecutable": "npm",
      "windows": { "runtimeExecutable": "npm.cmd" },
      // 启动我们的 egg-bin debug 并默认是 brk
      "runtimeArgs": [ "run", "debug", "--", "--inspect-brk" ],
      // 日志输出到 Terminal,否则启动期的日志看不到
      "console": "integratedTerminal",
      "protocol": "auto",
      // 进程重启后自动 attach
      "restart": true,
      // 因为无需再 proxy,故改回原来的 9229 端口
      "port": 9229,
      // 自动 attach 子进程
      "autoAttachChildProcesses": true
    }
  ]
}
1
2
3
4
5
6
7
8
9
10
11
12
13
14
15
16
17
18
19
20
21
22
23
24
25
2
3
4
5
6
7
8
9
10
11
12
13
14
15
16
17
18
19
20
21
22
23
24
25
其他
{
  "version": "0.2.0",
  "configurations": [
    {
      "type": "node",
      "request": "launch",
      "name": "Egg Test",
      "runtimeExecutable": "npm",
      "runtimeArgs": [
        "run",
        "test-local",
        "--",
        "--inspect-brk"
      ],
      "protocol": "auto",
      "port": 9229,
      "autoAttachChildProcesses": true,
      "disableOptimisticBPs": false,
    }
  ]
}
1
2
3
4
5
6
7
8
9
10
11
12
13
14
15
16
17
18
19
20
21
2
3
4
5
6
7
8
9
10
11
12
13
14
15
16
17
18
19
20
21
# 补充
Egg 的调试,跟 Node 没啥区别,因此一定要了解 Node 的基础调试知识。
其中,--inspect-brk 是指在进程第一行就暂停,等待 attach,因此:
master先启动,在第一行会停住,需要你attach master,才会往下走- 接着
master启动agent,也是在第一行停住,需要attach agent才会往下走 - 最后 agent 启动完成后,
worker才开始启动,一样也是在第一行停住,需要attach agent才会往下走
上面这几个 attach,由于上面我们提到的 VSCode 的支持,只需要开启配置,即可无感知的一键 attach。
虽然如此,但作为开发者,大家还是需要理解 Node 的调试原理。